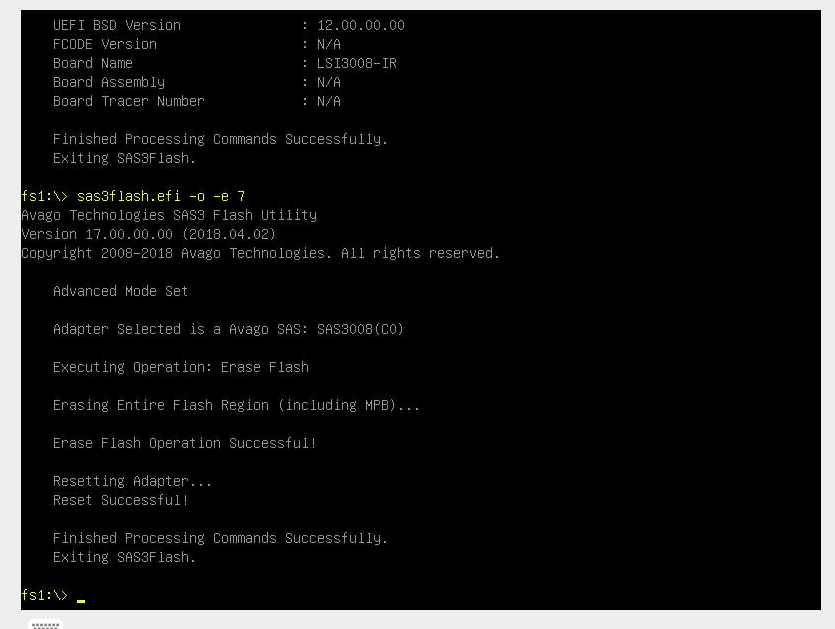
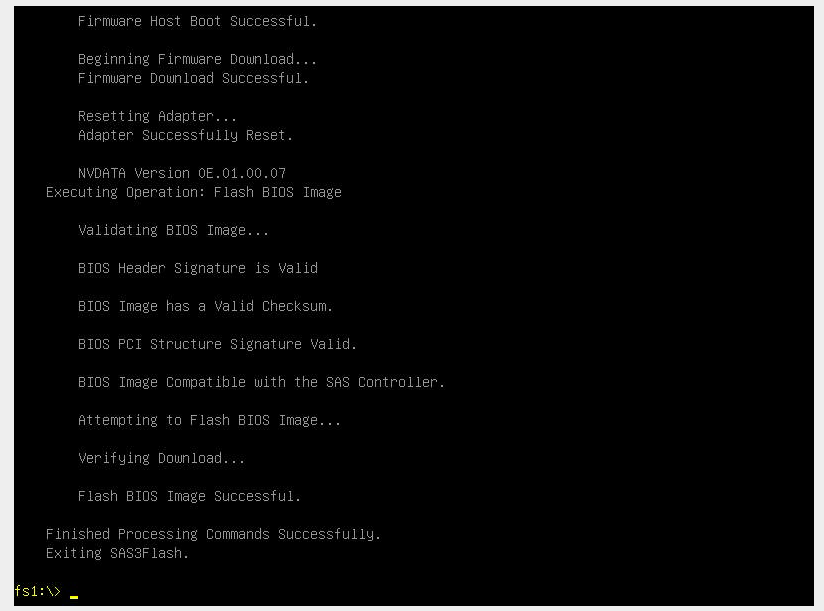
- Since the LSI 3008 chip is functionally identical to LSI 9300-8i we will use that firmware file to flash our chip from IR to IT mode so ZFS can see disks directly
- Download latest lsi9300-8i firmware and grab the following files
sas3flsh.efi or sas3flash.efi
SAS9300_8i_IT.bin (you do NOT want to use the IR bin)
mptsas3.rom
mpt3x64.rom
- Add these files to a image file, in my case I was using a Pi-KVM and a Mac so I followed these steps
Create a drive image on macOS
- Open Disk Utility.
File > New Image > Blank Image.- Save As:
pikvm-image.dmg. Name:pikvm-image. Size: 100 MB (or whatever size you want). Format:MS-DOS (FAT). Partitions:Single partition - GUID Partition Map. Image Format:read/write disk image. - Click Save.
- The drive will automatically be mounted.
- Copy files (such as BIOS updates) onto the new image (via terminal or drag and drop in Finder).
- Eject image.
- Rename file to .img
- Upload image to PiKVM interface under "Drive".
- Select Drive Mode:
Flashand thenConnect drive to Server.
- Reboot and press F11 to invoke the boot manager and select built in uefi shell
- Switch to your USB key - in my case it was fs1:
- Make a record of existing sas address by running
sas3flash.efi -list - Erase existing lsi controller firmware & bios by running
sas3flash.efi -o -e 7

- update new firmware & bios
sas3flash.efi -o -f sas9300.15.bin -b mptsas3.rom

- update uefi bsd version bios
sas3flash.efi -b mpt3x64.rom - set sas address to the one you recorded above
sas3flash.efi -o -sasadd 50030480XXXXXXX - reboot by typing exit and then pressing CTRL + ALT + DELETE
Sources
https://docs.pikvm.org/msd/#create-a-drive-image-on-macos
